How to Replace RV Awning: – Simple Step-by-Step Guide for RV Owners
Replacing or upgrading your RV awning doesn’t have to be intimidating. This guide provides a step-by-step approach for how to replace an RV awning, including removing an old awning, installing a new one, and even replacing the awning fabric. Whether you’re planning a DIY project or hiring professional help, following proper safety precautions is essential for a smooth and successful replacement—especially if you want your RV ready for trips to places like RV Park Midland TX.
The guide also includes tips for replacing an awning on a travel trailer, ensuring you can handle the task confidently. Proper care and maintenance play a crucial role in extending your awning’s lifespan. By learning the correct techniques for handling screws, brackets, and retractable fabric, you can prevent damage, improve functionality, and enjoy reliable shade and protection every time you hit the road, making visits to RV Park Midland TX even more enjoyable.
Why RV Owners Decide to Replace or Upgrade Their Awnings
Many RV owners experience awning-related problems over time, which makes changing RV awning an important consideration. Typical issues include loose or sagging material, ripped or sun-bleached fabric, and older styles that no longer deliver proper shade or weather coverage. Constant exposure to harsh sunlight, strong winds, rain, and road debris can slowly wear down both the look and performance of an awning, leading to reduced comfort during outdoor use.
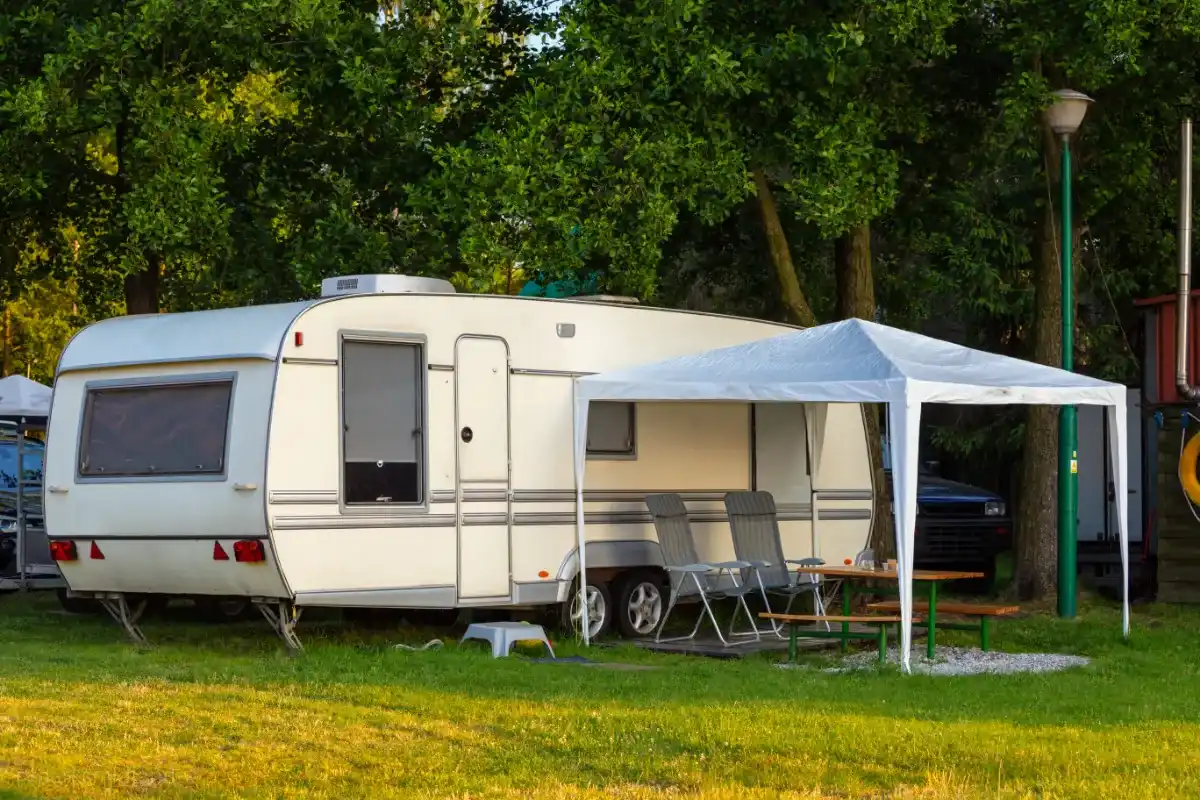
Opting for an RV awning replacement offers multiple advantages. Replacing awning on RV setups improves shade coverage, adds better protection to the RV’s sidewalls, and helps preserve your exterior living space. A new awning also operates more smoothly and minimizes the risk of recurring problems that often come with worn or aging components.
When weighing awning repair versus replacement, small rips or minor mechanical issues can sometimes be fixed temporarily. However, a complete replacement typically delivers better strength, visual appeal, and long-term reliability. For most RV owners, installing a new awning is the smarter solution for enjoying dependable performance and a refreshed outdoor experience on every trip.
Essential Tools, Parts, and Safety Gear for RV Awning Replacement
Before starting your DIY RV awning project, gather all the essential tools and parts to ensure a smooth installation. You’ll need brackets, screws, a roll tube, replacement fabric, a ladder, screwdriver, power drill, and a socket set. Having everything ready helps prevent interruptions and keeps the process safe and efficient.
If you’re installing an Electric awning, additional considerations include checking wiring connections and ensuring the motor functions correctly, whereas manual awnings rely on proper tension and smooth operation of the roll tube.
Safety should always be a top priority. Always use a sturdy ladder, wear protective gloves and safety goggles, and have at least one helper to manage the weight of the awning. Taking these precautions reduces risks and ensures your rv awning replace project goes smoothly.
RV Awning Removal: Safe and Proper Techniques
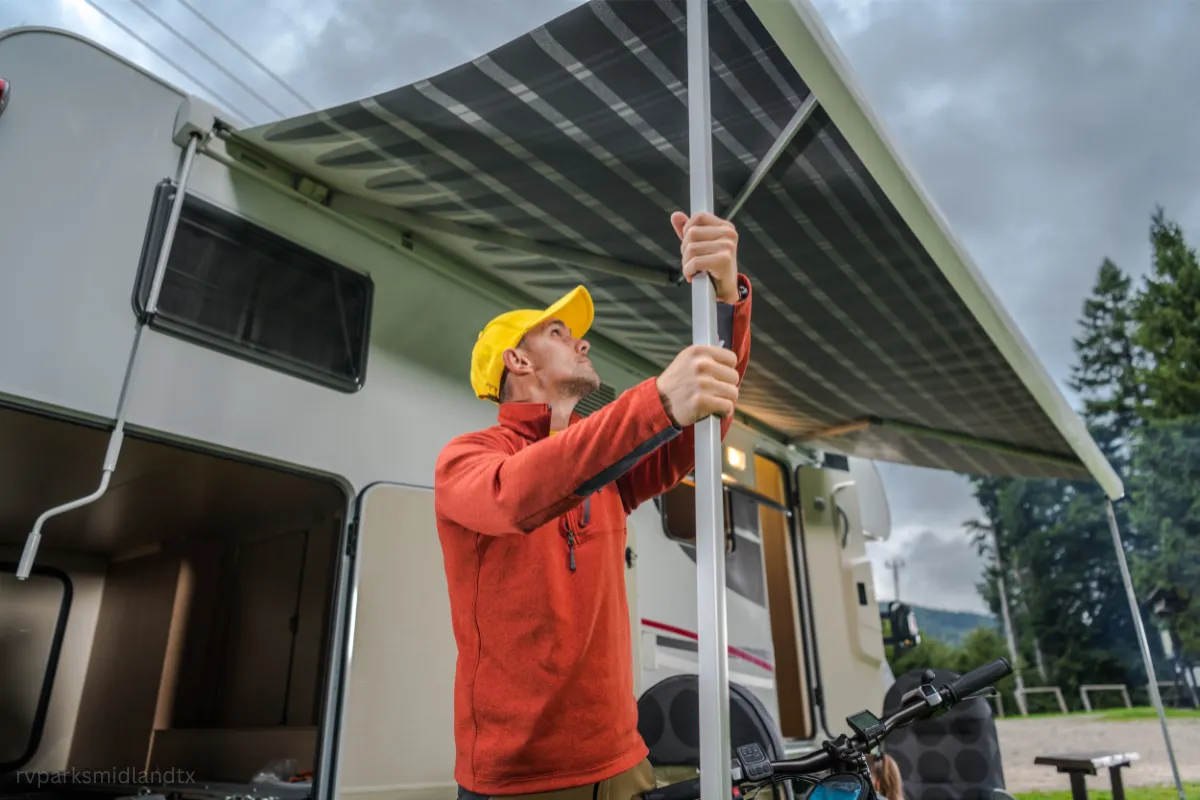
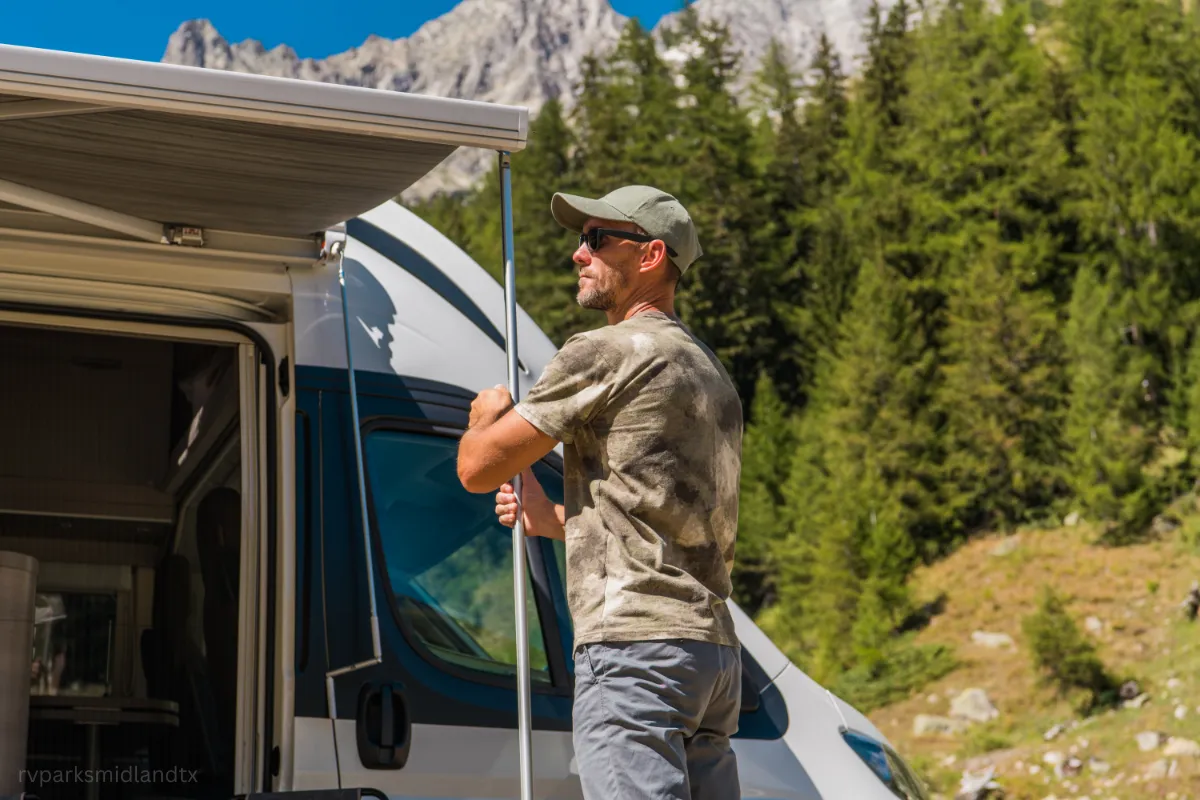
Removing an old awning is the first step when replacing an RV awning. Start by extending the awning slightly and securing the head assemblies on both ends to stabilize the structure. Having at least one helper is important, as awning assemblies can be heavy and awkward to handle.
Next, unroll the fabric and remove the screws holding it to the roll tube. Detach the roll tube carefully from the head assemblies, taking care not to damage the brackets or arms. Keep all hardware organized for reuse or reference during installation.
Finally, slide the awning out of the mounting brackets and away from the sidewall. With help, move the assembly to a flat, safe surface. Following these steps ensures removing awning from RV is safe, prevents damage to parts, and prepares you for a smooth installation.
Step-by-Step Guide to Installing Your Replacement Awning
Installing a new awning can be straightforward if you follow these steps carefully. Here’s how to installing rv awning or installing awning on rv properly:
Step 1: Prepare the RV and Parts
Secure the mounting brackets to the sidewall using appropriate screws. Make sure they are level and properly aligned to support the awning’s weight.
Step 2: Attach the Brackets
Ensure the RV is parked on a flat surface. Gather all parts including brackets, screws, roll tube, and fabric. Check that your helpers are ready to assist with the heavy assembly.
Step 3: Install the Roll Tube
Attach the roll tube to the brackets and ensure it is firmly secured. For retractable awnings, maintain proper tension to allow smooth extension and retraction.
Step 4: Feed and Align the Fabric
Slide the fabric into the rail, keeping it centered and flat. Take care to avoid wrinkles or sagging. If necessary, make minor adjustments to fix sagging and ensure even tension across the awning.
Step 5: Final Adjustments and Testing
Operate the awning back and forth multiple times to ensure it moves smoothly. Check that all screws and brackets are tight and that the sidewall remains protected. Adjust pitch and tension for optimal performance and longevity.
Following these steps ensures a safe and efficient rv awning replace, giving you reliable shade and long-term use.
Maintenance Tips to Extend the Life of Your RV Awning
Proper care ensures your rv awning replace or new installation lasts for years. Key maintenance practices include:
Wash the awning fabric routinely using gentle soap and water.
Allow the fabric to dry completely before rolling it in to prevent mold or mildew.
Inspect screws, brackets, and roll tube tension for wear and secure operation.
For retractable or Electric awnings, follow these additional tips:
Apply lubricant to the awning’s moving components to keep it extending and retracting effortlessly.
Check fabric alignment and tension to avoid sagging or wrinkles.
Prevent cheap RV awning mistakes during installation to avoid leaks or uneven wear.
Estimating the Cost and Life Expectancy of Your RV Awning
The cost to replace RV awning varies depending on factors such as the awning’s size, type (manual or Electric), and the materials used. Larger awnings or heavy-duty fabrics typically cost more, while DIY installation can reduce expenses compared to hiring a professional.
With proper care and routine maintenance—cleaning fabric, checking screws and brackets, and keeping tension properly adjusted—a high-quality awning can last 8–12 years or longer. Regular inspection helps prevent sagging, leaks, or damage, maximizing your investment.
Choosing between DIY RV awning replacement and professional installation also affects cost. DIY projects save money but require more time and effort, while professional service ensures correct installation and minimizes the risk of damage to your RV’s sidewall or components.
Common Challenges and Best Practices for a Smooth RV Awning Installation
Installing an RV awning can be tricky, especially when handling heavy or awkward assemblies during a DIY RV awning project. Always have at least one helper to safely manage the roll tube and brackets.
To prevent damage to your RV sidewall or avoid costly bracket replacement, work carefully when detaching or attaching hardware. Avoid forcing components into place and double-check alignment before securing screws.
Proper tension adjustment and alignment are crucial for smooth operation and long-term performance. Ensure the fabric is centered and flat, the roll tube is secure, and all hardware is tightened according to the manufacturer’s instructions. Taking these steps reduces sagging, prevents leaks, and ensures a reliable, well-functioning awning.
Awning installation can be challenging due to weight and alignment requirements. Having a helper and following proper steps ensures safe and smooth installation.
Final Thoughts: Upgrade Your RV Experience With a New Awning
Replacing your RV awning offers improved shade, protection for your sidewall, and the satisfaction of a successful DIY RV awning project. Regular maintenance—checking screws, tension, and fabric condition—ensures long-lasting performance.
Whether you install it yourself or hire a professional, following proper safety and care tips guarantees your new or RV replacement awnings provide comfort, reliability, and years of enjoyment on every adventure. Make your next stay at RV Park Midland TX even better—upgrade your awning today and experience shade and protection like never before!


 .
.