How to Replace RV Toilet: Complete Guide for DIY RVers
Replacing an RV toilet becomes necessary when your old unit starts leaking, clogs often, or fails to flush properly. Many RV owners feel unsure about the process, but following a clear DIY guide for How to Replace RV Toilet makes it simple and manageable. Over time, regular use and water exposure can wear down seals, bolts, and the toilet bowl itself. Knowing whether your RV has a traditional, composting, or cassette toilet helps avoid mistakes and saves time, especially when planning trips to destinations like RV Park Midland TX.
Common problems include wobbly toilets, faulty flush mechanisms, or water leaks around the base. Preparing tools, checking mounting bolts and nuts, and draining water lines beforehand ensures a smooth replacement. With patience and the right steps, even first-time RVers can replace their toilet confidently, keeping the bathroom fully functional for every visit to places like RV Park Midland TX.
Preparing for a DIY RV Toilet Replacement Without Leaks or Mess
Before starting travel trailer toilet replacement, make sure safety comes first. Turn off the water supply and flush the toilet to release any pressure in the lines. This helps avoid any water spillage during the process.
Next, empty both black and gray tanks completely. Handling a full tank while removing a RV toilet can be messy and risky. Doing this first keeps your bathroom and floors clean.
Finally, gather all necessary tools like wrenches, screwdrivers, pliers, and gloves. Inspect mounting bolts/nuts and lay down towels or a bucket. Proper DIY preparation ensures a smoother, safer, and less stressful RV toilet replacement process.
Tools and Materials Needed for Installing an RV Toilet: Complete Checklist
Before installing an RV toilet, gather all the tools and materials to make the job easier. Proper preparation ensures a smooth RV toilet install and prevents mistakes. Always keep your work area Clean and ready for a fresh start.
Essential tools and materials:
Adjustable wrenches and pliers for mounting bolts/nuts
Phillips and flathead screwdrivers
Tape and putty knife for old seal removal
Safety gloves to protect your hands
Towels or rags to catch water spills
Silicone and a fresh seal for proper installation
Bucket and flashlight for hard-to-reach areas
Level to check alignment during RV toilet install
After gathering everything, double-check each item. Doing a test run of the setup ensures you won’t face surprises during installation.
Removing the Old RV Toilet: Tools, Safety, and Precautions
Start by turning off the water supply and flushing the toilet to release any pressure in the system. Empty the black and gray tanks completely, ensuring all draining lines are clear. This prevents spills while removing a RV toilet or changing RV toilet.
Next, carefully disconnect the water line from the toilet. Remove the mounting bolts/nuts holding the unit in place. Lift the toilet slowly to avoid damage. If it feels stuck, gently rock it back and forth. Always keep your area Clean and protect floors with towels or a plastic sheet.
Finally, inspect the flange and surrounding area for debris or old sealant. Clean thoroughly before installation. Taking your time during this DIY step prevents leaks, ensures proper alignment, and makes the next steps easier.
Installing Your RV Toilet: Connecting Water Supply and Testing for Leaks
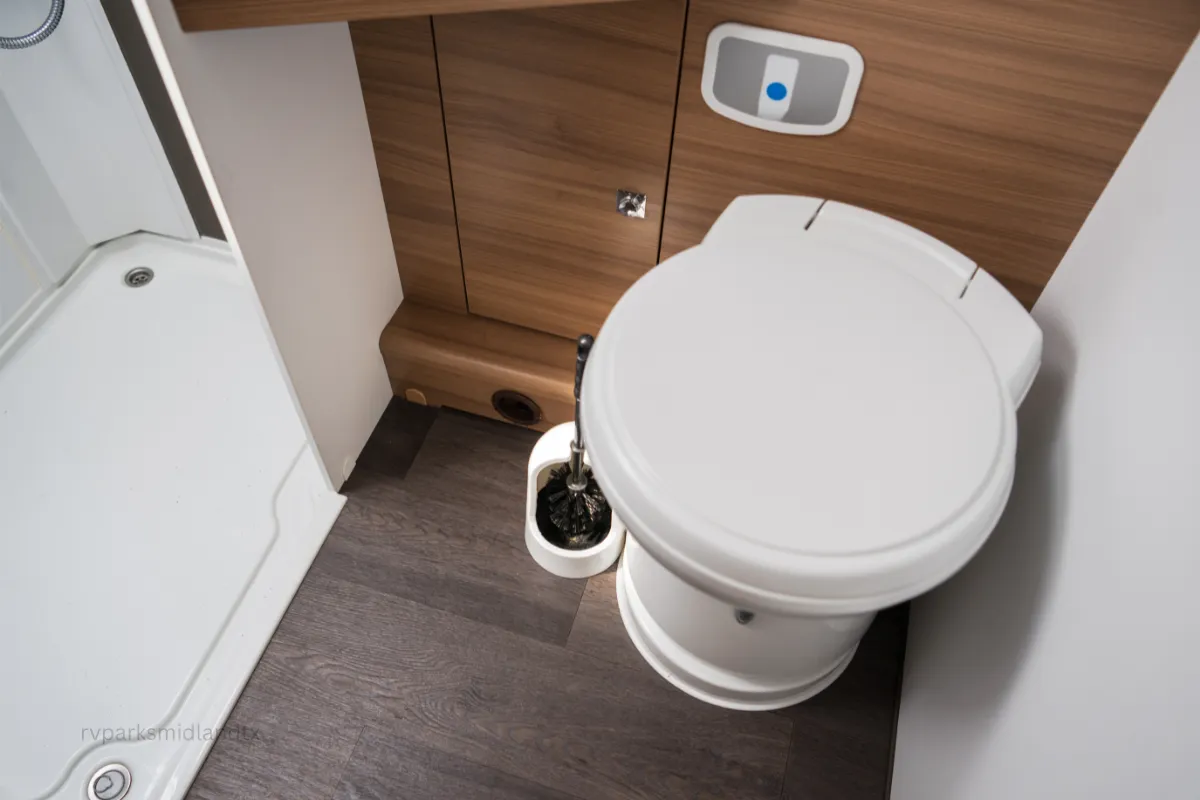
Start by placing a fresh seal on the flange to prevent leaks during your RV toilet install. Carefully align the mounting bolts/nuts so the toilet sits securely. Taking your time ensures the procedure goes smoothly and avoids mistakes.
Next, lower the RV replacement toilet onto the flange, pressing gently to set the seal. Check that it sits level and fits snugly. If needed, apply a thin bead of silicone around the base for extra protection.
Finally, attach the water line and tighten all connections carefully. Restore the water supply and flush the toilet to check for proper operation. A careful DIY approach guarantees a stable, leak-free installation and makes installing an RV toilet easier than expected.
Features to Consider in Your New RV Toilet: Size, Height, and More
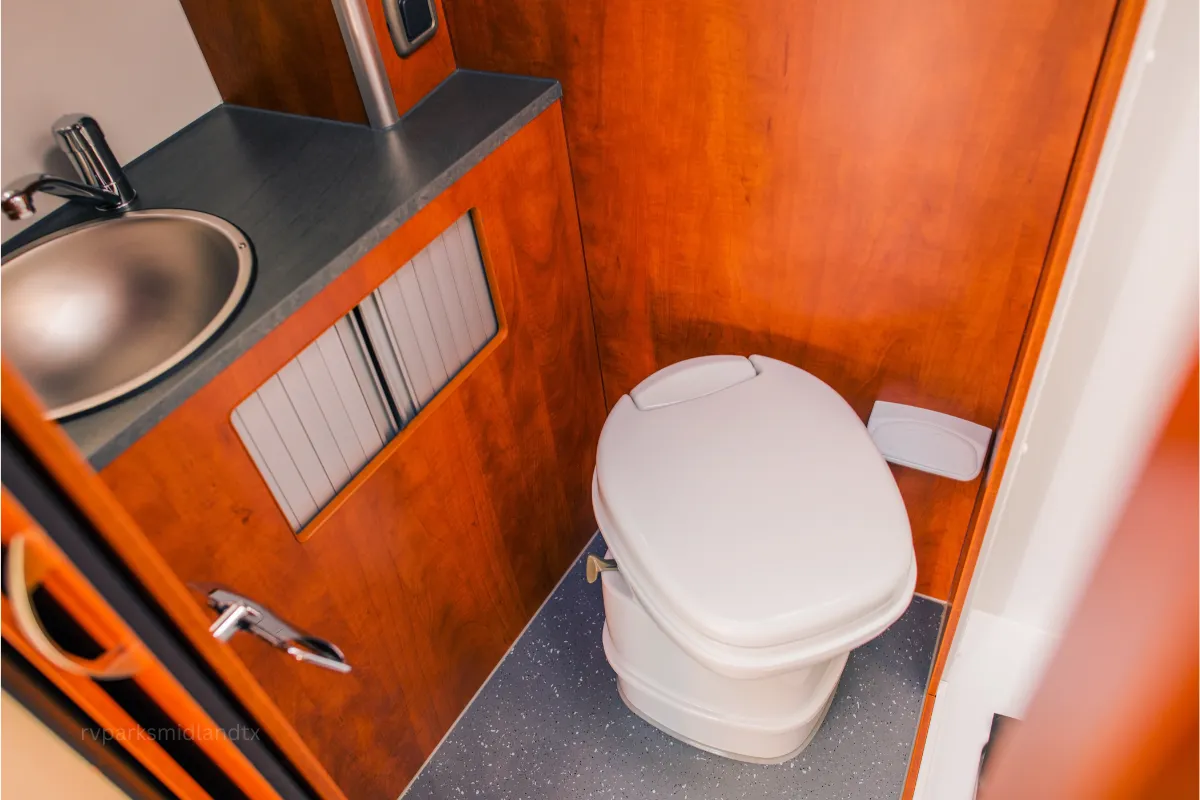
When choosing a replacement toilet for RV, size and height matter most. Measure the available space to ensure the unit fits comfortably without crowding the bathroom. A well-sized toilet keeps the area Clean and easy to maintain.
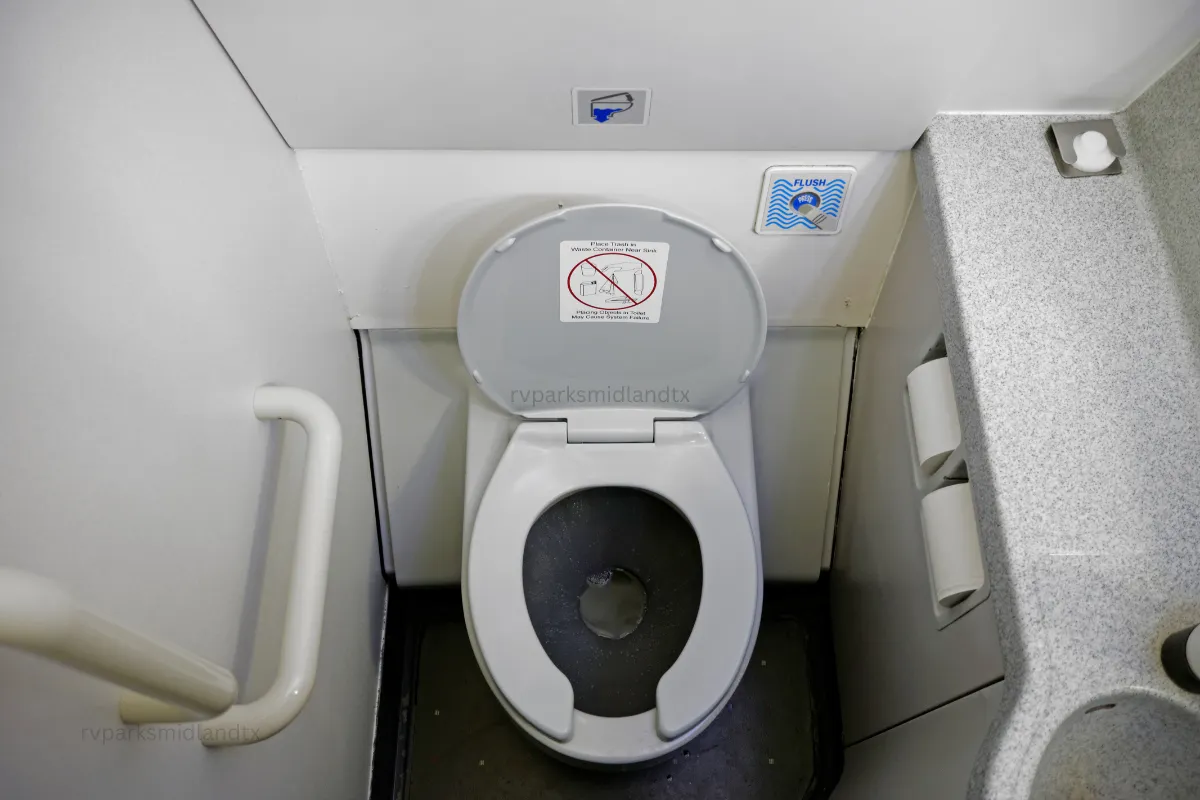
Next, consider the flush type. Options include foot pedal, hand lever, or electric flush systems. Pick one that works best for your travel style. This part of the selection procedure impacts daily use and convenience.
Finally, think about material. Plastic toilets are lightweight and ideal for easy DIY installation. China or hybrid materials offer a more durable, “home-like” feel. Always check compatibility with your RV’s plumbing and mounting before purchase.
Solving Common Problems with Your Replacement Toilet for RV
Leaks around the base and faulty flush mechanisms are among the most frequent issues. These often happen when the fresh seal is worn or mounting bolts/nuts are loose.
A wobbly toilet may occur if the unit isn’t level or the bolts aren’t tightened properly. Checking and adjusting the mounting bolts/nuts usually fixes the problem without replacing the whole toilet.
Continuous water running or poor flushing can indicate clogged draining lines or pressure issues. Inspect water connections, clean lines, and perform a test flush to pinpoint the problem.
Many repairs can be done as a simple DIY project. Replacing a seal, tightening bolts, or clearing draining lines often restores proper function and prevents larger issues in the future.
Cost Considerations: DIY vs Hiring a Professional for RV Toilet Install
The RV toilet replacement cost varies depending on the type of toilet and materials. A replacement toilet for RV can be more expensive if you choose china or electric flush models. Plastic toilets are usually more budget-friendly and ideal for DIY installation.
For travel trailer toilet replacement, additional costs may include new seals, mounting bolts/nuts, and tools if you don’t already have them. Professional installation increases the total cost but ensures a secure, leak-free fit.
Budgeting wisely helps avoid surprises. Compare prices, consider material and flush type, and decide whether a DIY approach is feasible. Planning ahead ensures you get a quality toilet without overspending and keeps your bathroom fully functional.
Tips for Maintaining Your RV Toilet After Replacement
Proper maintenance keeps your toilet working well and prevents leaks, odors, or damage. Follow these simple tips:
Clean: Regularly clean the toilet and surrounding area to avoid buildup.
Fresh Seal: Inspect the seal periodically and replace it if worn.
Draining Lines: Check for clogs or blockages during your DIY routine.
Procedure: Follow the correct steps when flushing or adding water to prevent pressure issues.
Test: Perform a flush after maintenance to ensure everything works properly.
Mounting Bolts/Nuts: Tighten as needed to keep the unit stable.
Basic tools include wrenches, screwdrivers, pliers, gloves, tape, and a putty knife. Always Clean the area and perform a test flush after installation.
Conclusion: Enjoy a Fully Functional RV Bathroom
Carefully replacing an RV toilet and following proper RV replacement toilet installation steps ensures a clean, stable, and leak-free bathroom. Paying attention to each DIY step, from removing the old unit to applying a fresh seal and testing connections, makes the process smoother and prevents future problems. Regular maintenance also keeps your toilet functioning efficiently.
Once your toilet is fully functional, you can enjoy your RV adventures without worry. Plan your next trip confidently and consider stopping at RV Parks Midland TX for convenient, safe, and well-equipped locations. A properly installed toilet makes every stop more comfortable and enhances your overall RV travel experience.


 .
.